Back to: Technology Guides
How to install and configure a DNS server on Windows Server 2019
A DNS server is an essential building block of any network. It is a database that translates an IP address into a human readable name in a forward lookup zone and the reverse as well in a reverse lookup zone.
Client machines in a network refer to name servers who host a DNS to know which machines are located at which IP address.
In this guide, we will learn how to install a DNS server on a Windows Server 2019 machine. Once a client machine is setup to use it as a name server, it will know the IP address of a machine from a name.
Getting started
In this guide, we are going to assume you already have the following:
Microsoft Windows Server 2019 installed on a server.
You want to connect two client machines with Microsoft Windows 10 installed to the network.
We are going to be using the following network configuration:
ASSET | NAME | IP ADDRESS | SUBNET MASK |
Server 1 | server-eu | 172.16.10.10 | 255.255.255.0 |
Client Machine 1 | wks-1 | 172.16.10.101 | 255.255.255.0 |
Client Machine 2 | wks-2 | 172.16.10.201 | 255.255.255.0 |
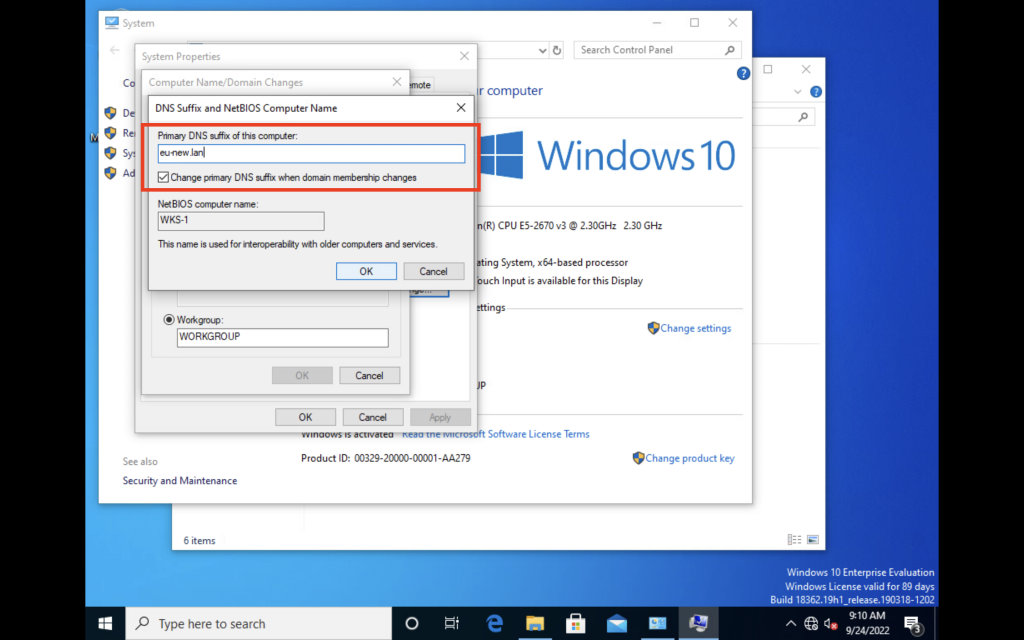
We are going to be using the domain eu-new.lan.
The complete name or Fully Qualified Domain Name (FQDN) of each asset will be:
Server 1 will be:
server-eu.eu-new.lan
Client 1 will be:
wks-1.eu-new.lan
Client 2 will be:
wks-2.eu-new.lan
Server configuration
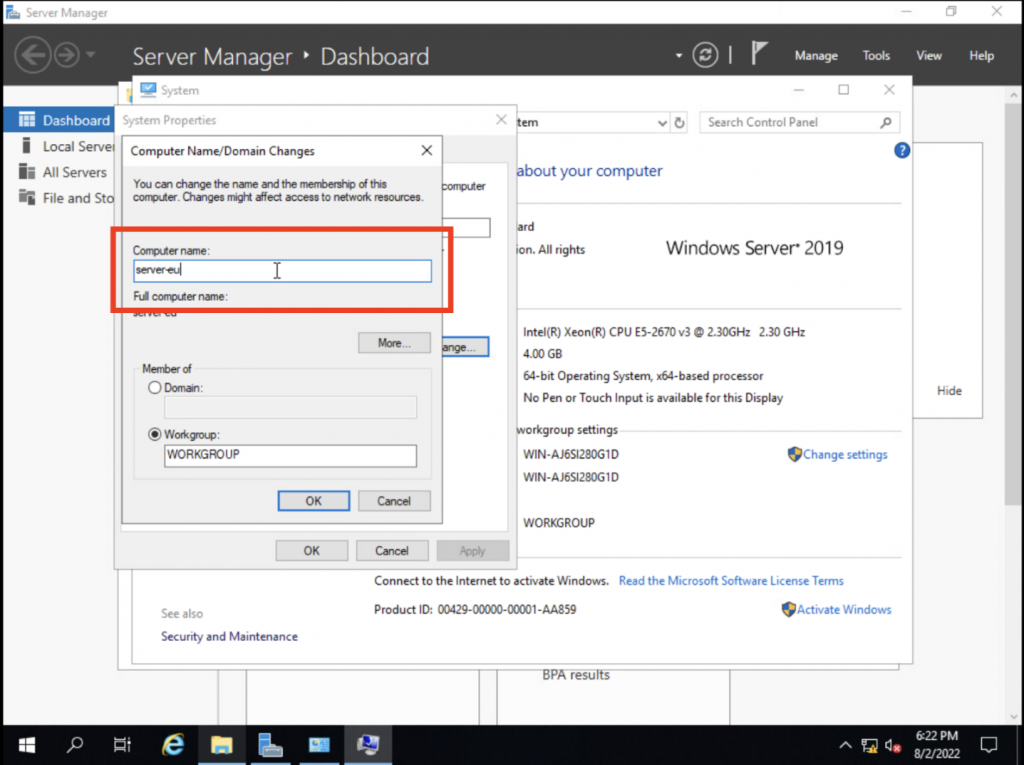
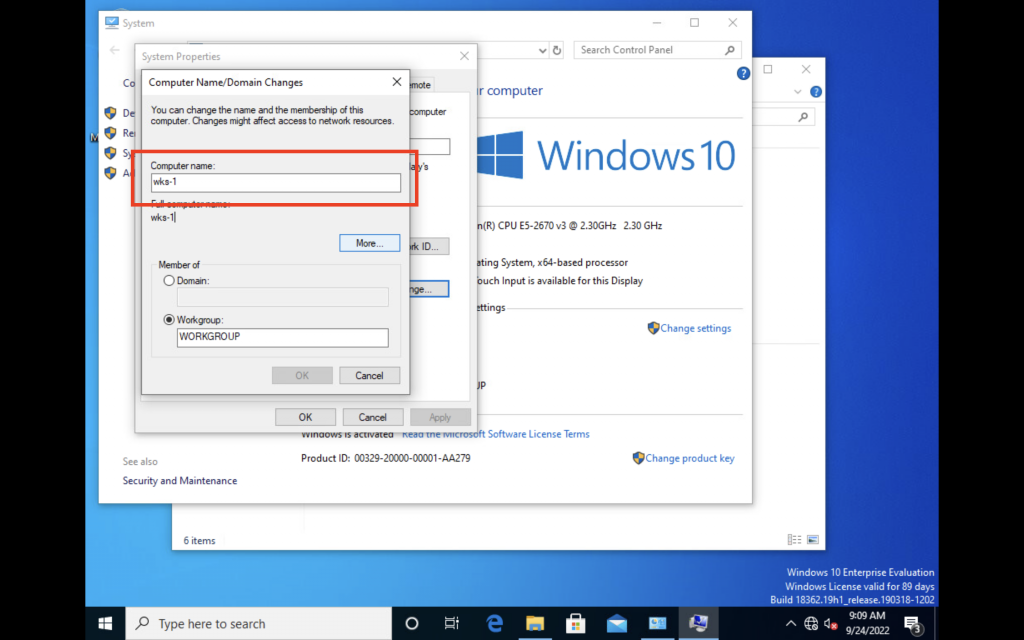
1. Configure NETBIOS name to server-eu
We start by establishing our server's name to be server-eu.
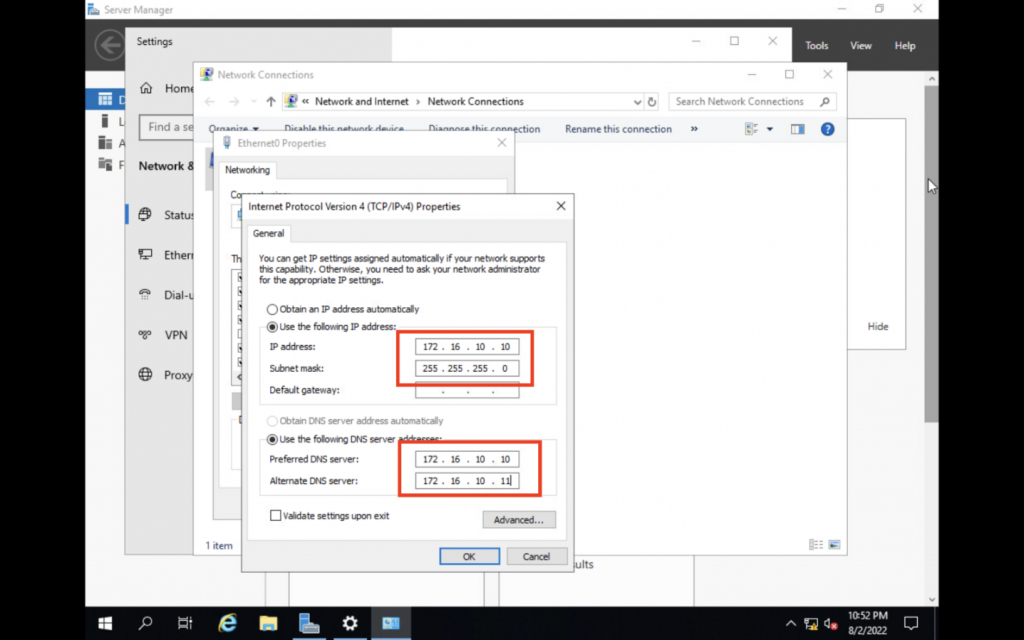
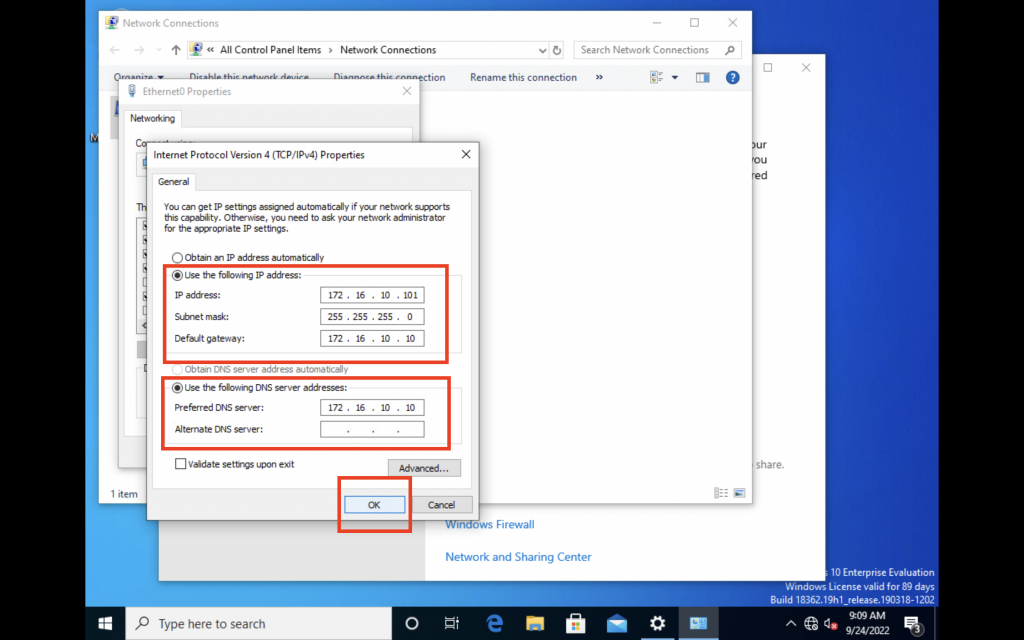
2. Configure network to use 172.16.10.10
We will now configure our server's network to be a static IP address of 172.16.10.10 so that our client will know which address to connect to.
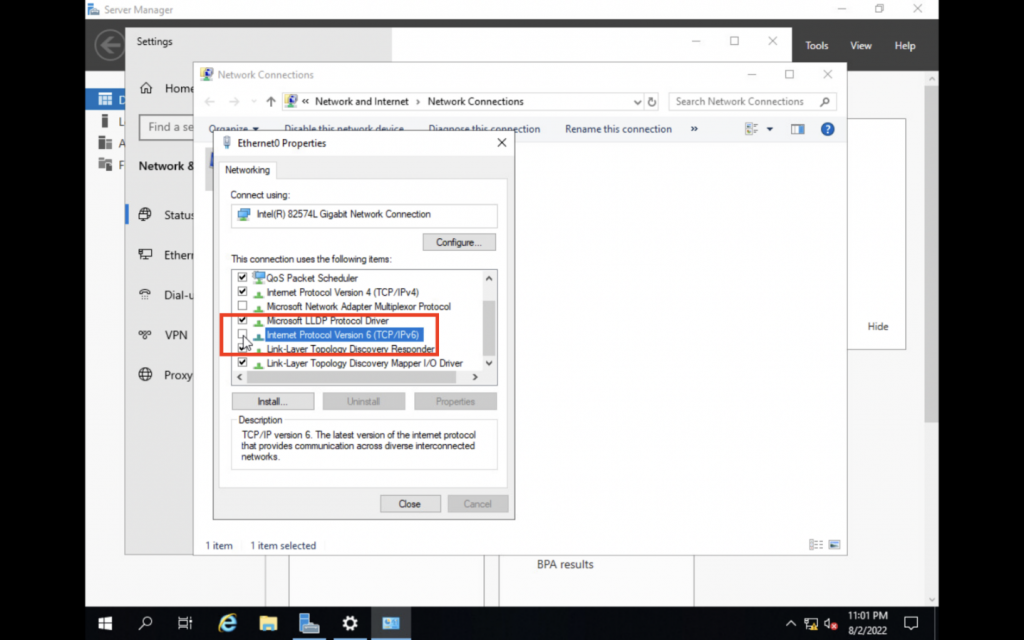
We are disabling IPv6 because we will only be using IPv4 and we want to make sure it will not interfere with our setup.
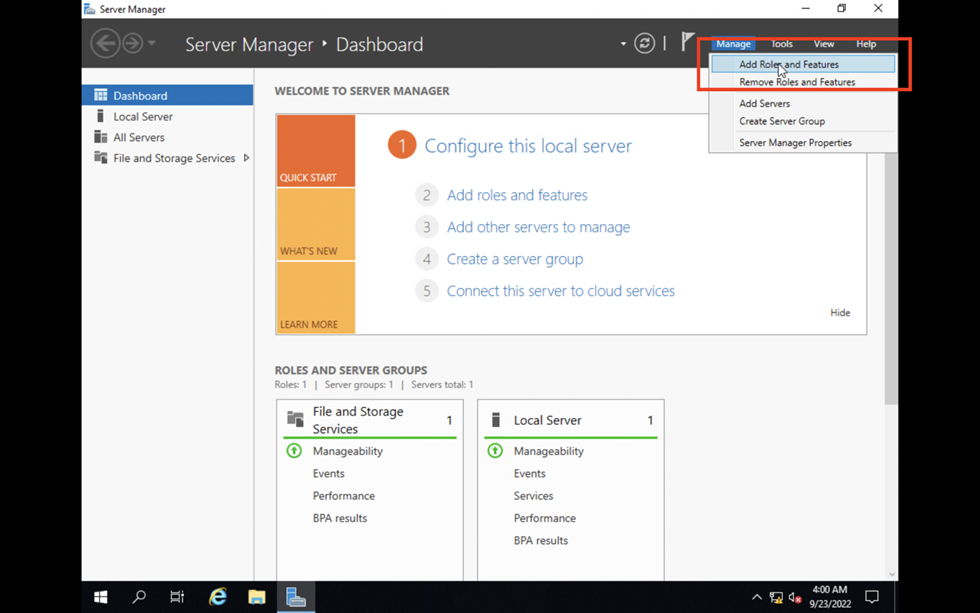
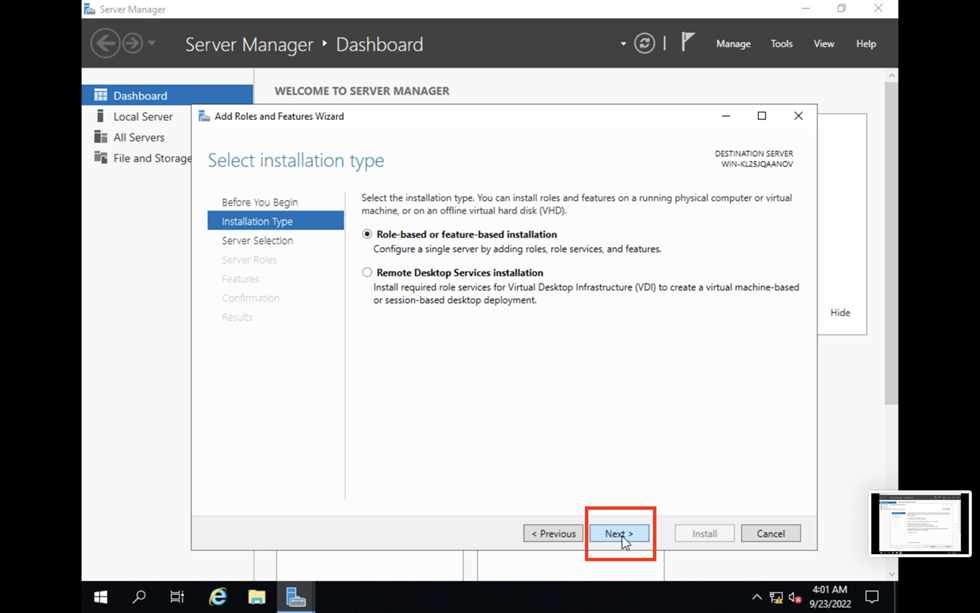
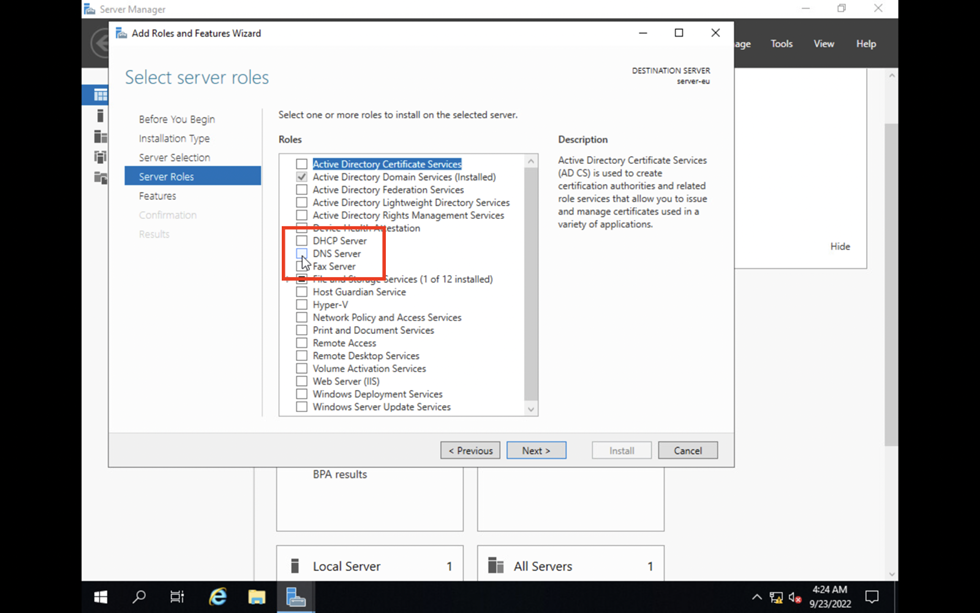
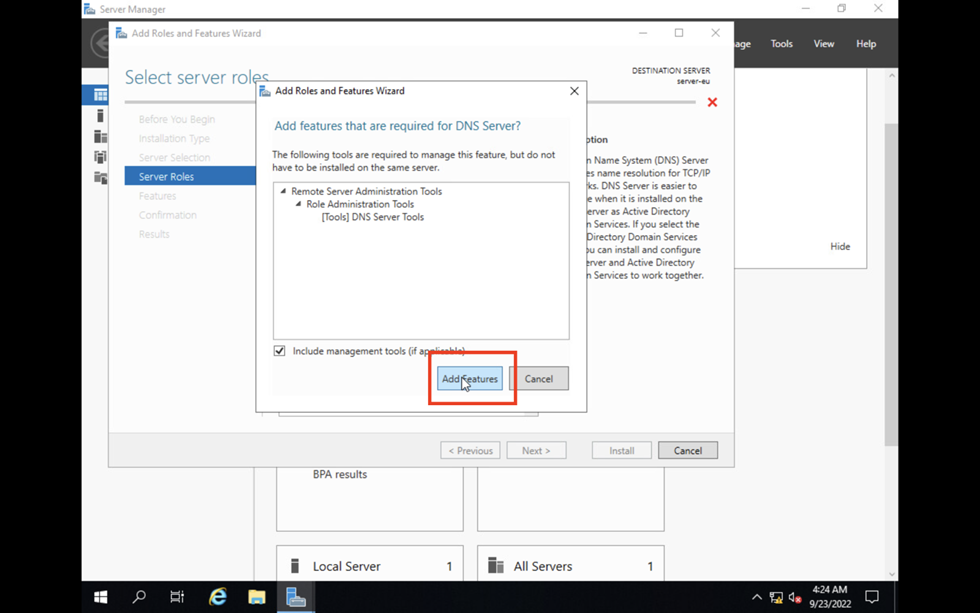
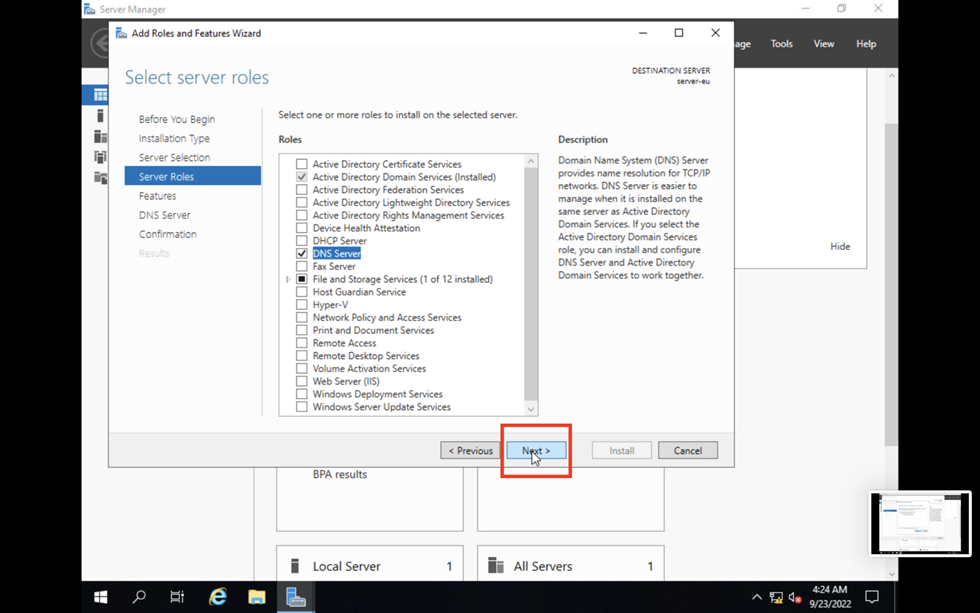
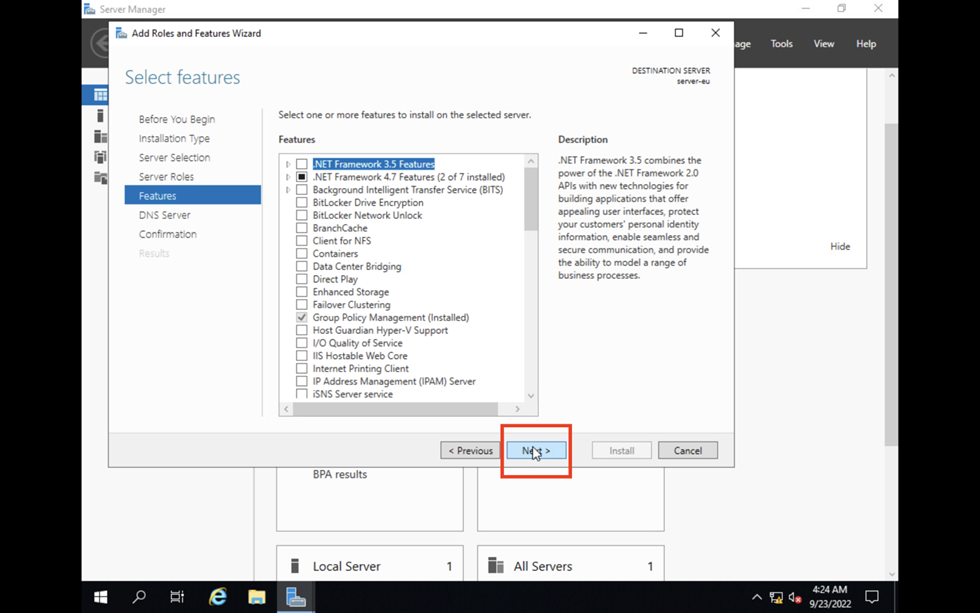
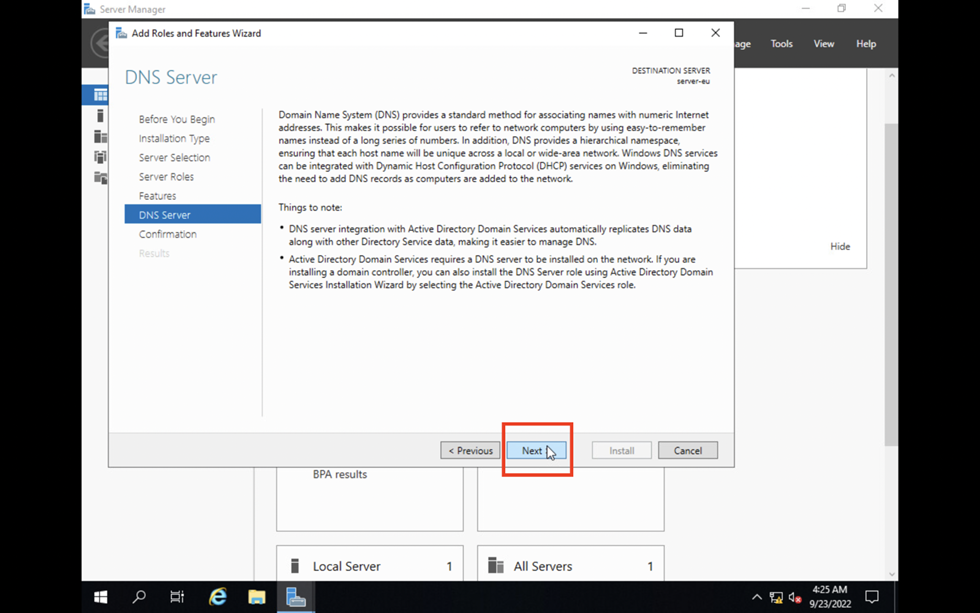
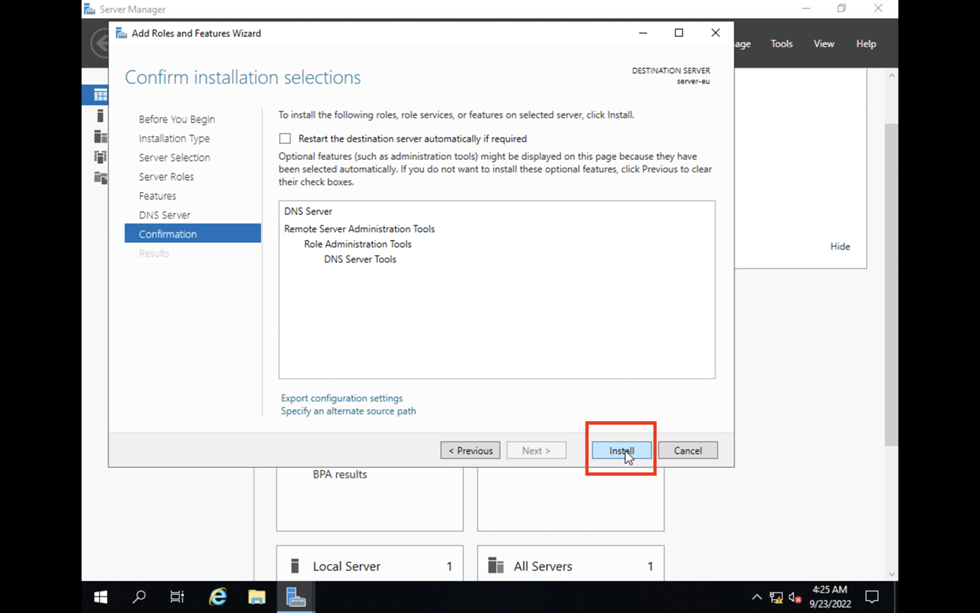
3. Install the DNS Server.
Now that the basic computer configuration is out of the way, we can start installing the DNS Server.
4. Configure the DNS Server.
Once the installation is completed, we can start configuring our DNS zones.
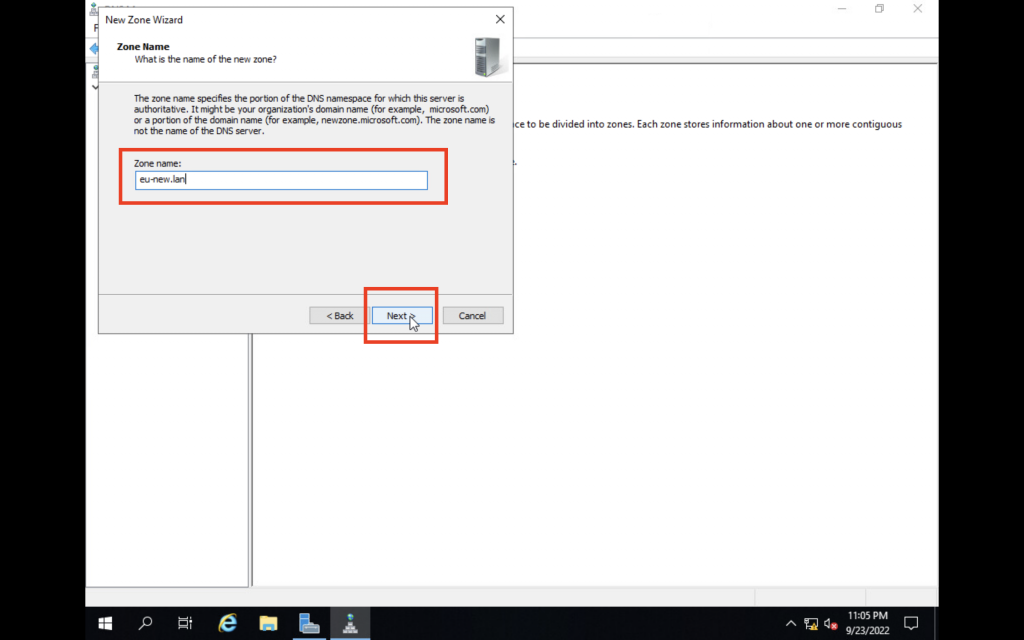
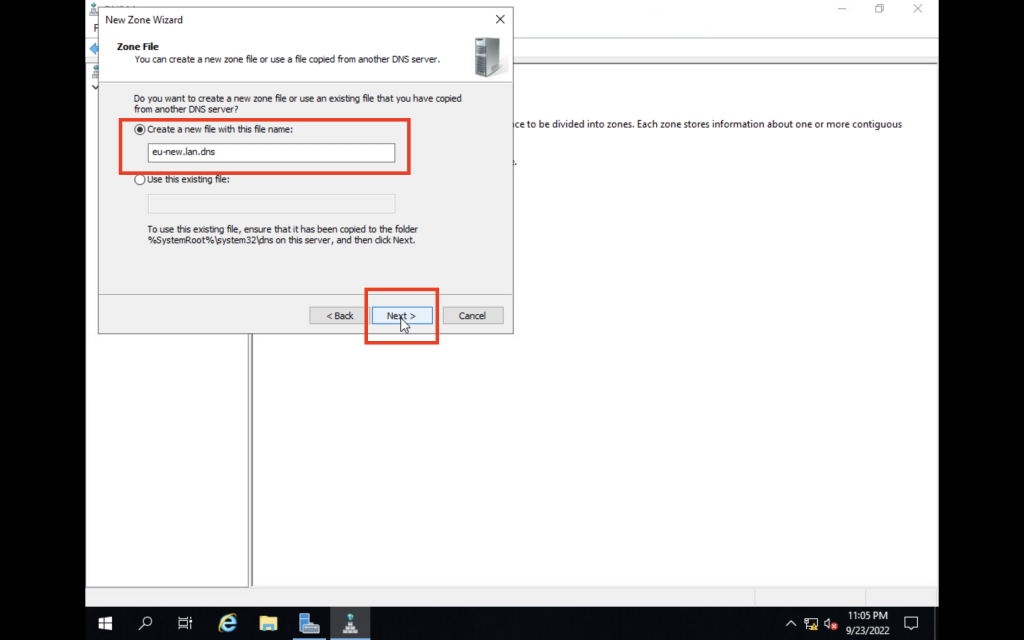
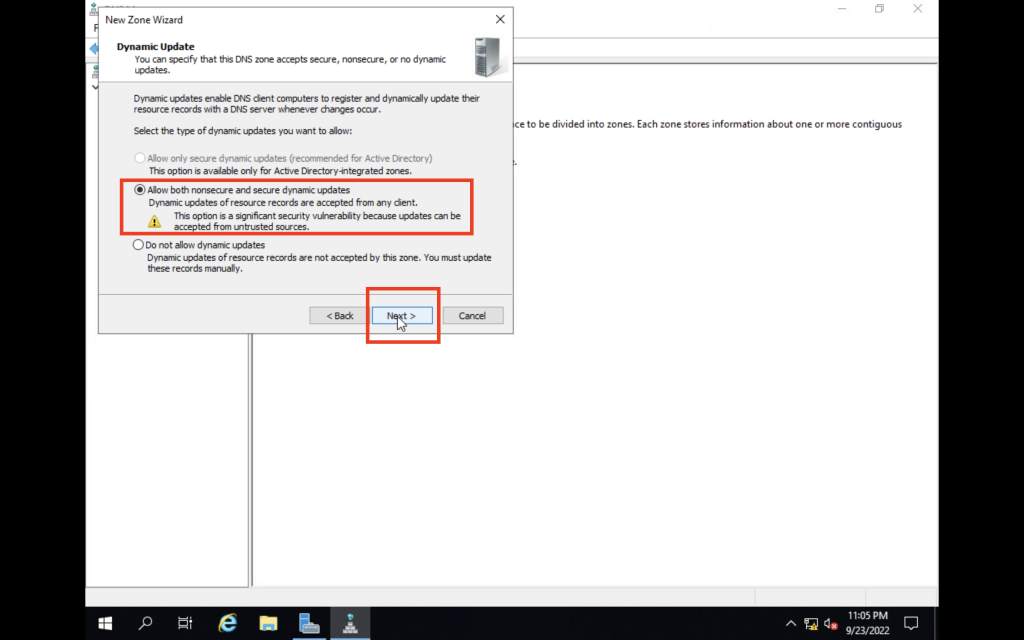
4.1 Create our Primary Forward Lookup Zone
This zone will take care of translating client names to IP addresses. All records must be part of a domain name. We will be using eu-new.lan.
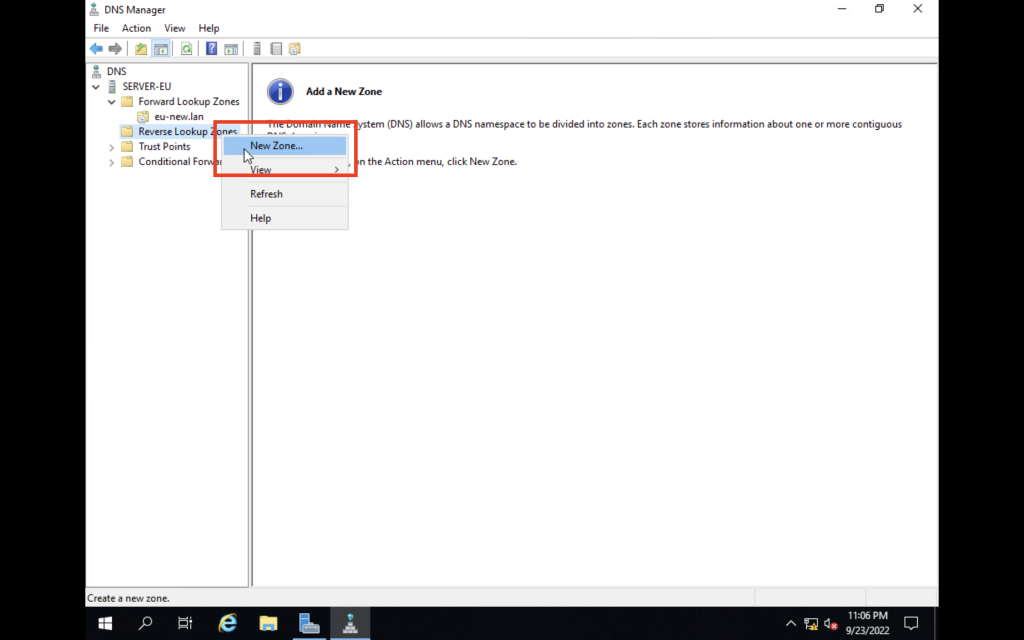
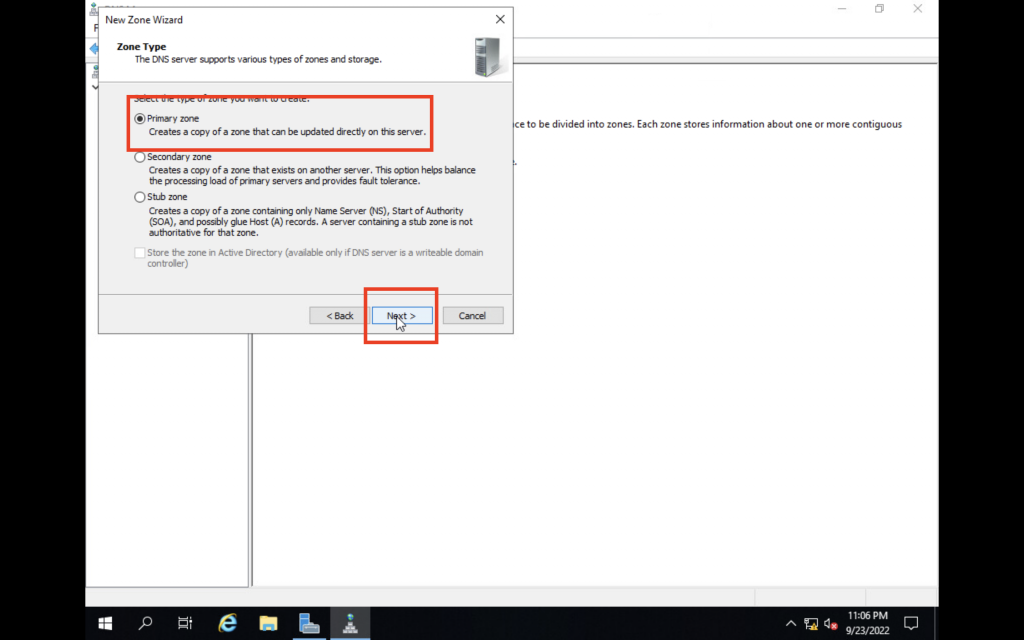
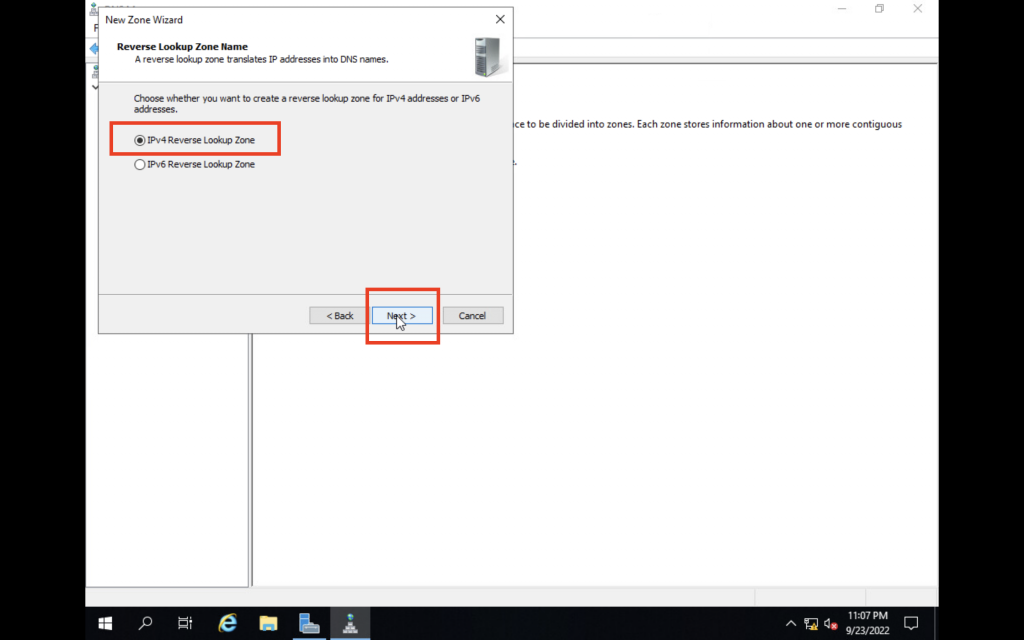
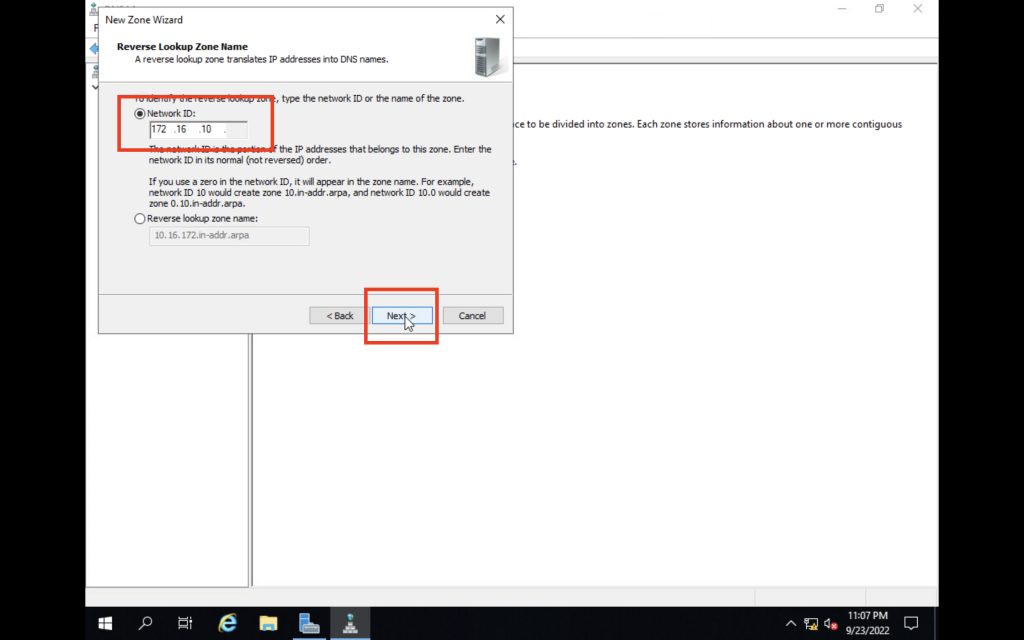
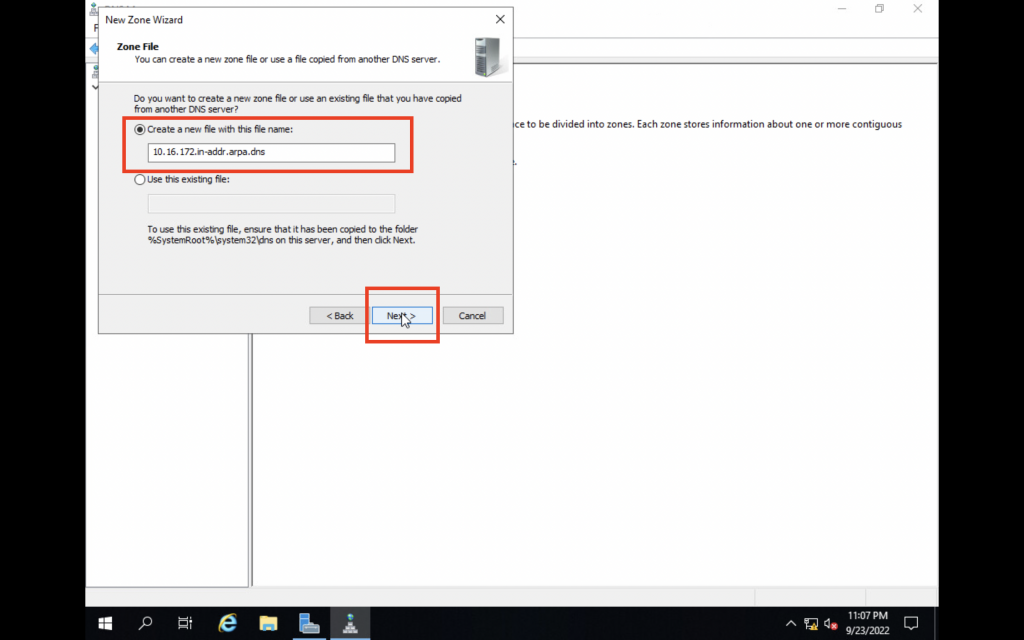
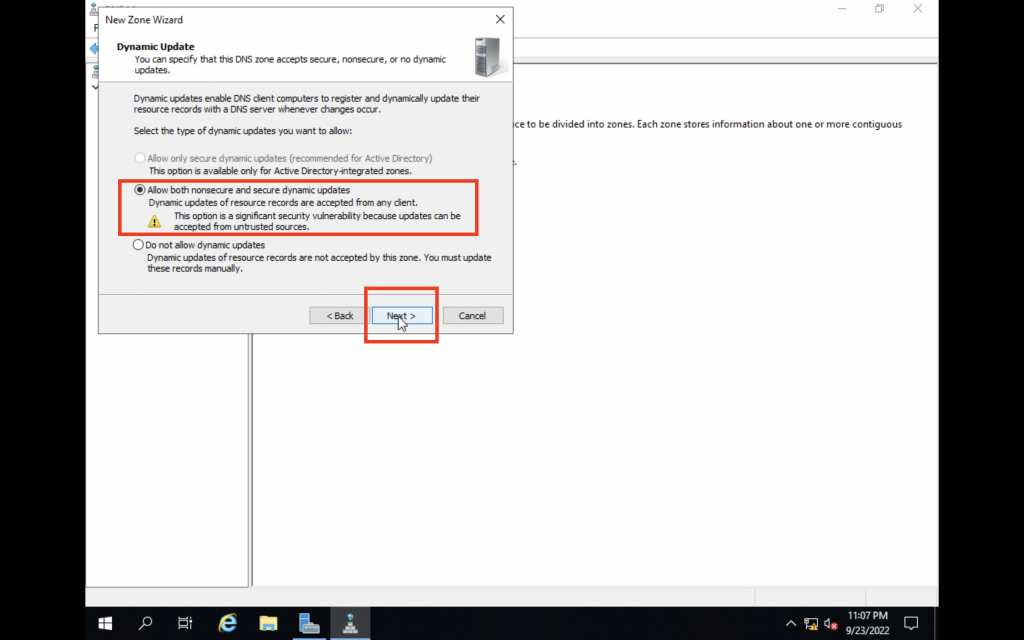
4.2 Create our Primary Reverse Lookup Zone
This zone will take care of doing the reverse. It will translate IP addresses to client names.
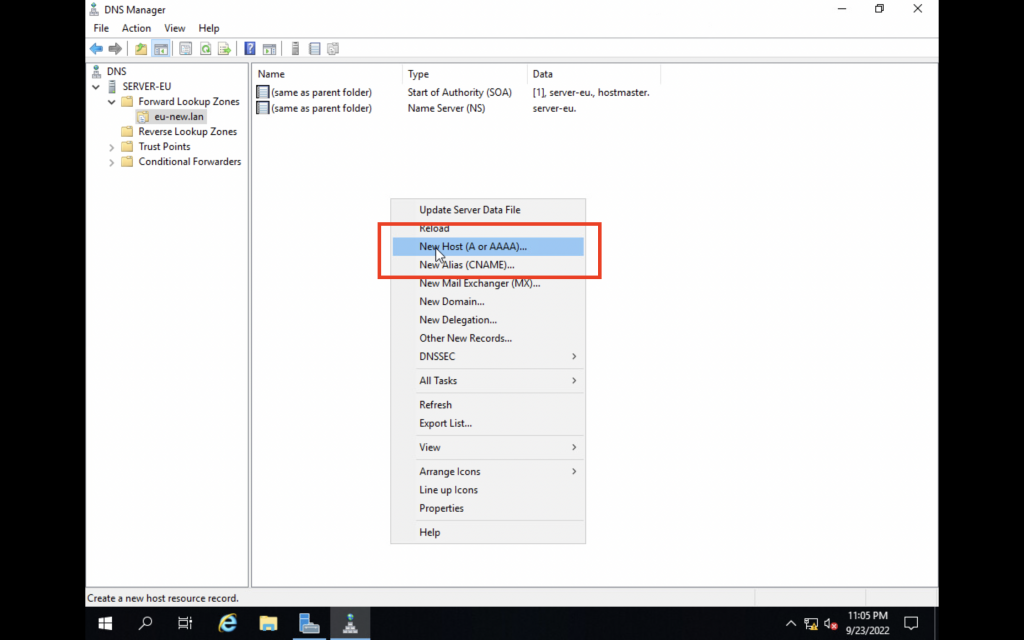
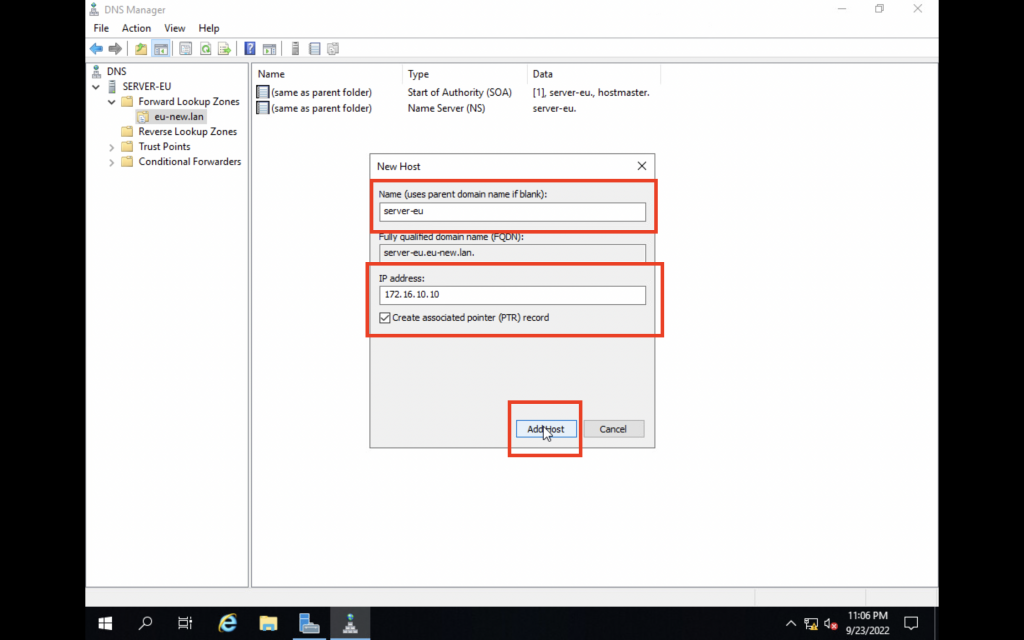
4.3 Add our A record
We will now create an A record that will bind our server name server-eu to the IP address 172.16.10.10.
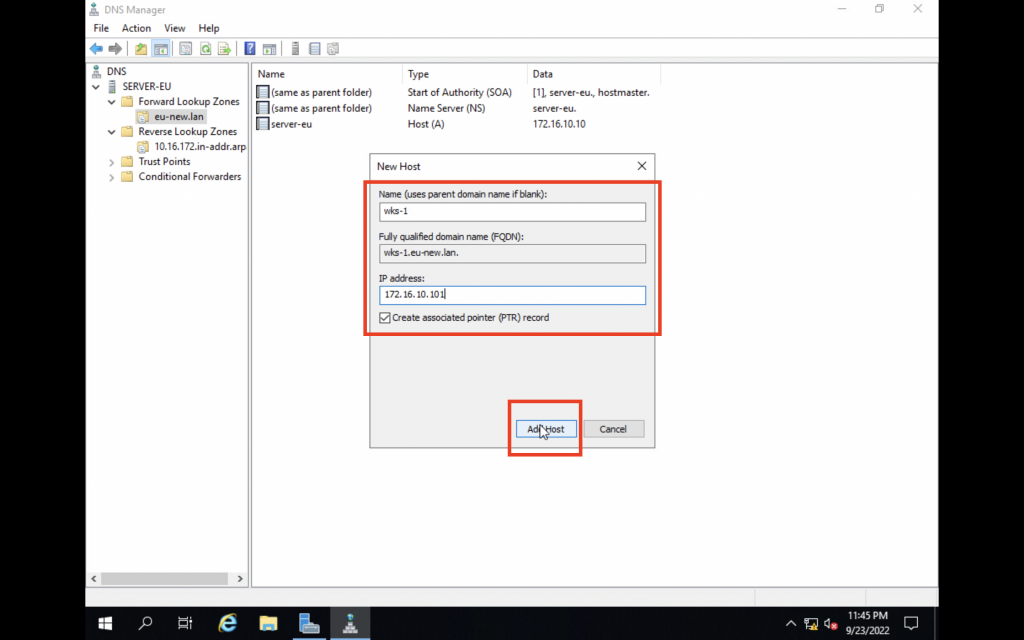
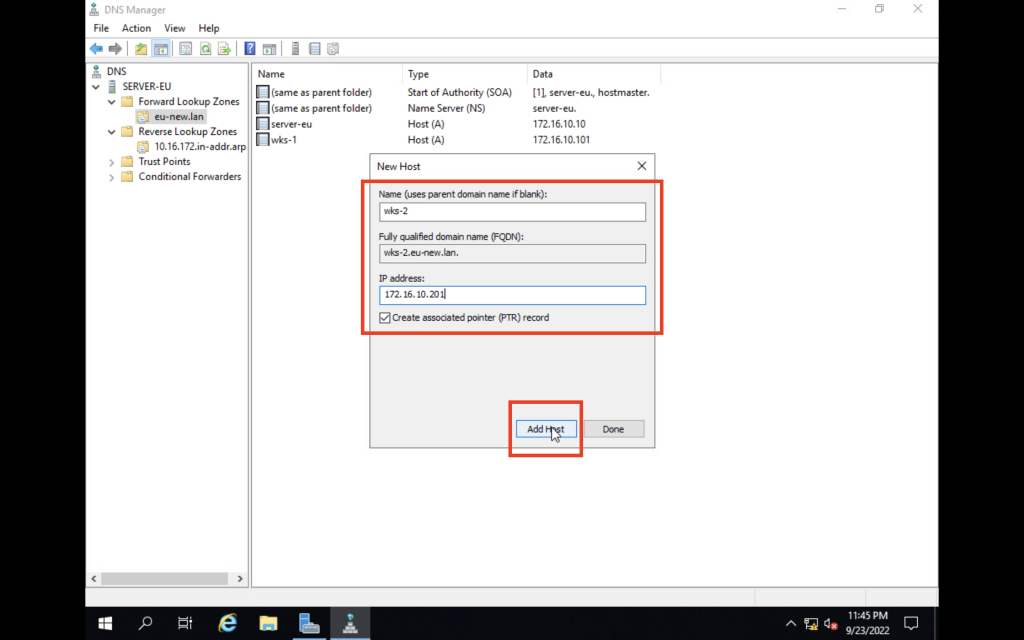
Let's also create the A records to point to our two clients.
Client 1 and 2 configuration
It is now time to integrate the two client machines into the network test our DNS Server.
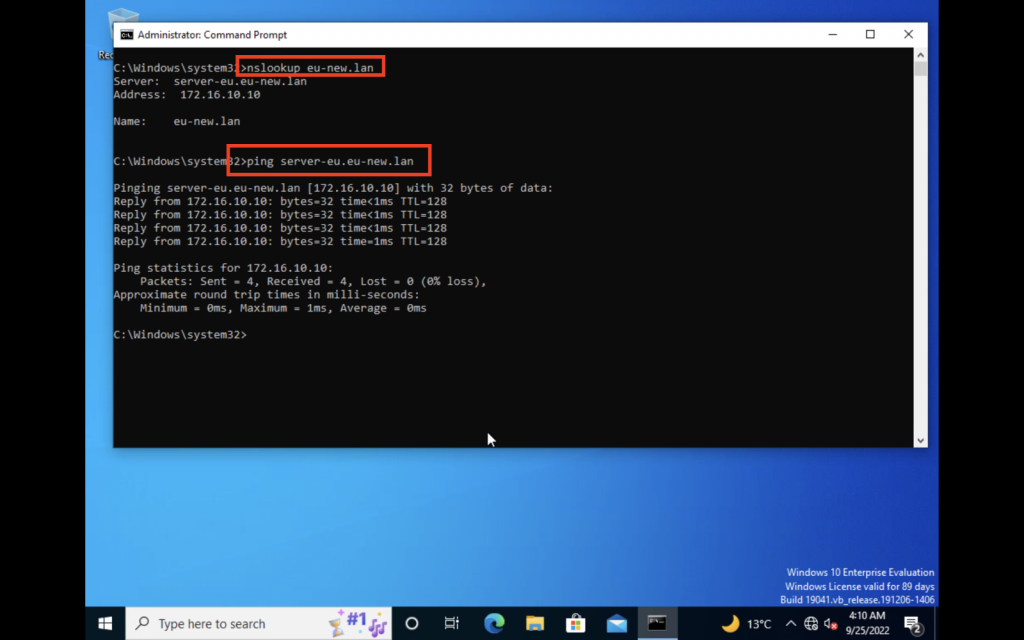
After configuring client 1, we can test the DNS configuration to see if we're able to resolve the A records with nslookup.
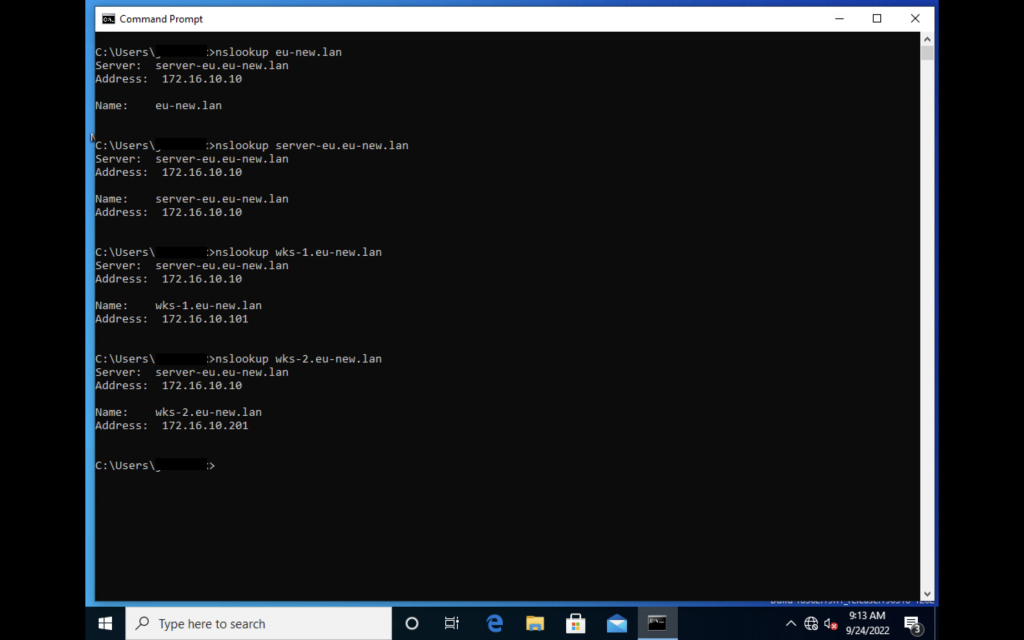
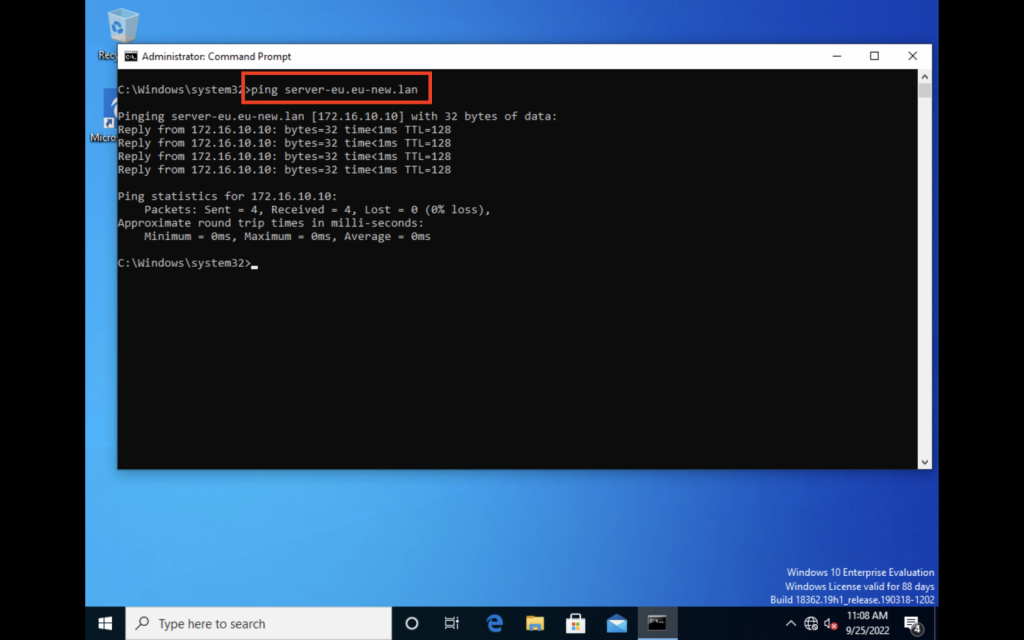
We can see that the records are resolving to the right IP addresses, we can now ping the server using its FQDN instead of its IP address after allowing pings through the firewall.
After configuring client 2 to use 172.16.10.201 and use the name of wks-2 with a DNS suffix of eu-new.lan, we can see that the DNS records resolves as well and we can successfully ping the server using its FQDN.
Conclusion
In this guide, we have learned how to setup a proper DNS server on Windows Server 2019 and integrate two client machines running Windows 10 to the network 172.16.10.0.
All devices are now part of the domain eu-new.lan and are looking up the DNS server for A records to resolve FQDN to IP addresses and vice-versa.
Our next step after installing the DNS server is to use Active Directory and integrate it. You can refer to our guide on how to install Active Directory.